Have you been searching for the complete guide for the Hogwarts Legacy’s Depulso Puzzle Rooms? Go through the passages below to observe the puzzle solutions.
Are you observing for the legit information of Depulso Puzzle Rooms 1 and 2? Do you know or want to learn about their solving methods? If yes, you can learn more by referring to the coming sections.
Hogwarts Legacy has become a well-known Harry Potter similar game, loved by millions of its fans. The game featured many Magic activities, including spells and characters, making the game even richer to experience.
So, if you want to estimate the most-known game puzzle details, i.e., Depulso Puzzle, you should read this article presenting the in-depth Depulso Puzzle Room Guide in Hogwarts Legacy.
Hogwarts Legacy More Guide:
Depulso Puzzle Room Guide in Hogwarts Legacy
We have updated the complete information related to Depulso Puzzle Room in this guide. Follow the process mentioned below and complete this puzzle of Hogwarts Legacy.
Depulso Puzzle Room 1
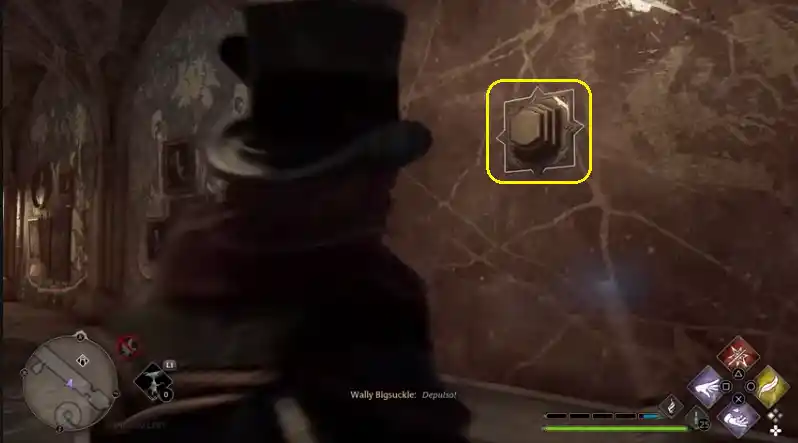
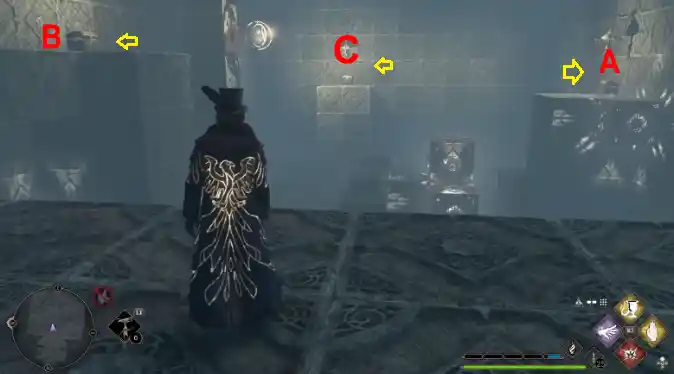
You’ll find this interesting puzzle room in the Hogwarts Library Wing area. Upon reaching there, you will find an ancient button that you need to push and open using Depulso, leading to the room entrance.
When you enter, you’ll notice three treasures in that room that you first need to unlock. After opening all of them, the fourth treasure will appear near the room opening.
#1. Treasure A
You will find the first treasure on the room’s right side.
Now, you should begin by pulling the top box by Accio and pushing the two middle ones by Depulso, making a stair for Treasure A. Finally, climb up the stairs to unlock Treasure A.
#2. Treasure B
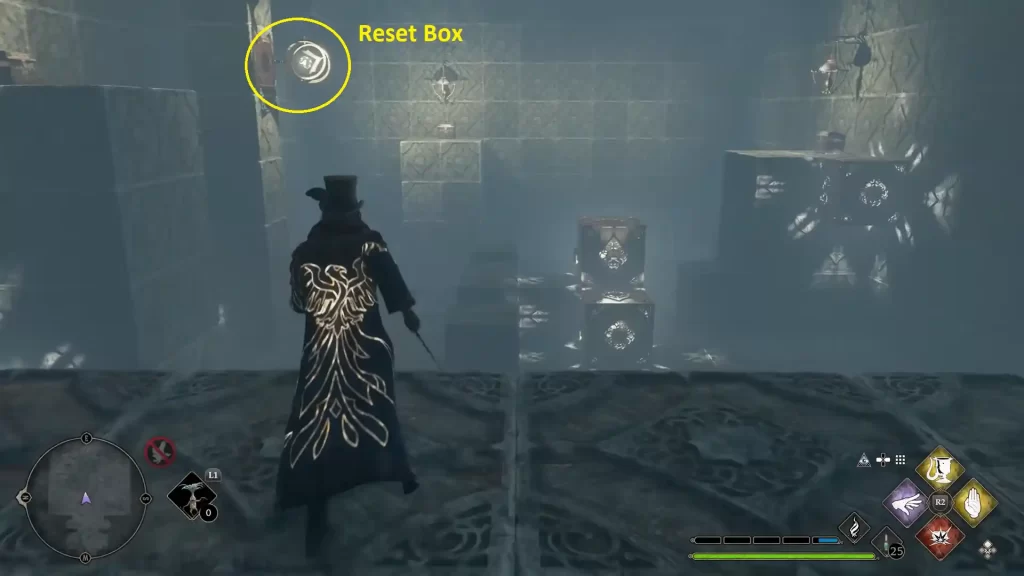
After opening Treasure A, you should reset the puzzle by aiming at the key-like structure. Now, push the second-level block towards the room’s left edge. Combining all the bottom blocks, you are ready with a stair towards Treasure B.
#3. Treasure C
Again, reset the puzzle, and move towards the room’s back portion for Treasure C. You must move the box to the right corner near the third treasure to get the treasure. After that, push the lower and second-higher middleboxes near the first box.
Finally, use the three bottom boxes to create a bridge to reach Treasure C. After all, climb to all of them to get the reward from Treasure C.
#4. Treasure D
Immediately after unlocking Treasure A, B and C, you’ll get a new path, following which you will get the final, i.e., Treasure D, ending the room 1 puzzle.
Depulso Puzzle Room 2
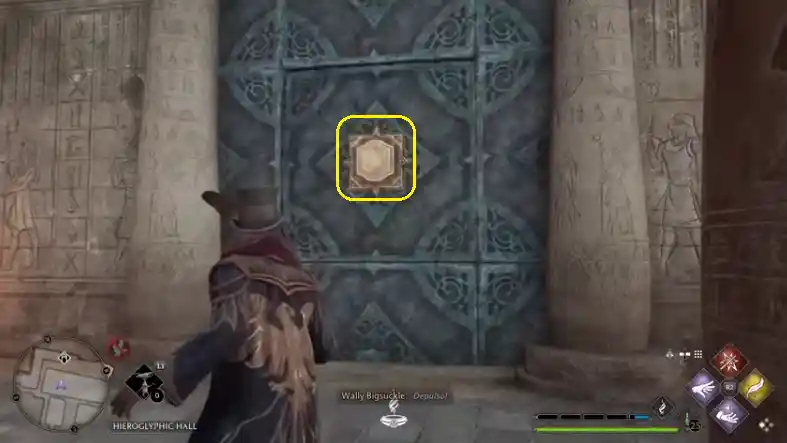
You’ll find puzzle room 2 in Hogwarts Castle’s Library Wing section.
#1. Treasure A
Upon entering the room, you’ll find Treasure A in the upper left side room that you must reach by:
- Pulling the T-shaped structure, which you’ll find nearby the entrance.
- After that, you must search for another block in the corner and pull it into the corner.
- Do the same with the combined blocks to develop a staircase leading to Treasure A.
#2. Treasure B
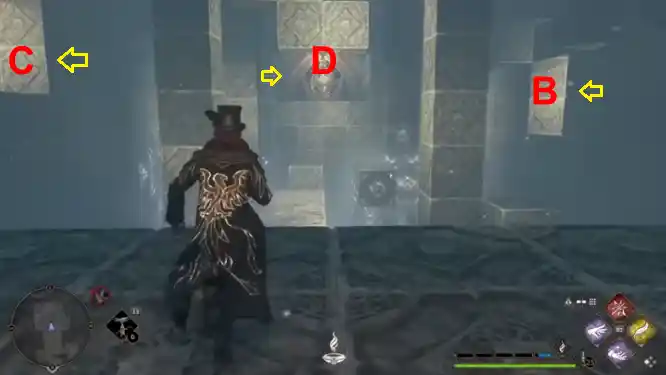
- After reaching this area, head towards the right direction and pull blocks towards you.
- Now, go towards the left side, push the blocks set forward and then to the left side.
- Then climb on it, and after walking a bit, pull the block back to the natural position.
- Finally, it will give you a way to reach Treasure B.
#3. Treasure C
You’ll find this chest in the room’s left side secret room.
- After resetting, you should move the long block set towards the room’s wall.
- Join this block set with another L-shaped block.
- Combine both of them with the stacks residing on the right side.
- Finally, shift all of them to the left wall for Treasure C.
Treasure D
- Go towards the area’s right side and pull the blocks towards yourself.
- Next, visit the left side and pull the stacked blocks towards the left after pushing them forward. Later on, finally, push them to the area’s other corner.
- Push the block set to the entrance’s left wall. Join it with the L-shaped block set and push it forward.
- Shift the complete structure to reach the end after pulling it to yourself.
The Final Words
This article summarized the Depulso Puzzle Room Guide in Hogwarts Legacy by explaining the legit puzzle solution. Gain all the essential fundamentals about the Hogwarts Legacy here.
Has this blog post helped you to get the correct Depulso Puzzle Room details? Please share your response to this article and any relative doubt in the comment section.